Using One Stop Order Processing with Amazon Merchant Transport Utility (AMTU)
One Stop Order Processing can use AMTU to manage all the communcation with Amazon. This includes, downloading orders, marking orders as shipped and managing stock control.
NOTE : If you have setup your own Amazon Developer Credentials (e.g. to manage your US or AU orders ) as a Private Seller you can still use your current setup to manage your orders. This guide shows how to setup AMTU and the options to change in One Stop Order Processing.
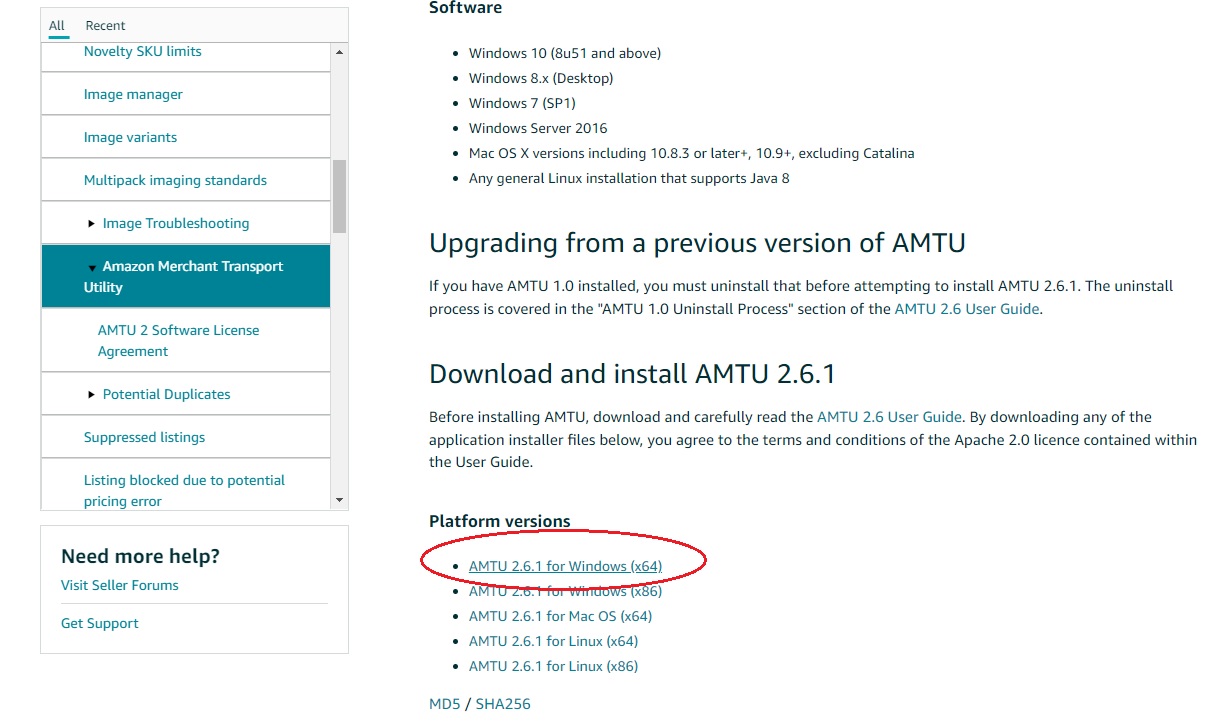
1 Download AMTU
If you go to the Amaon website at:
https://sellercentral.amazon.co.uk/help/hub/reference/G16481
and find the Download and install AMTU 2.6.1section. Select the correct version for your Windows type, e.g. AMTU 2.6.1 for Windows (x64).
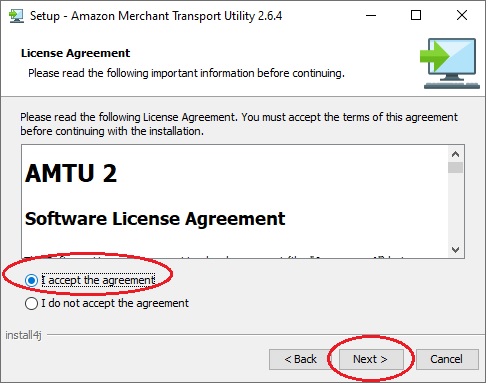
2 Install AMTU from downloaded installation
Once happy, accept the agreement and click on Next.
3 Destination Directory
Accept the default installation folder and click Next.

4 Select Start Menu
Accept the default
Start folder and click on Next.

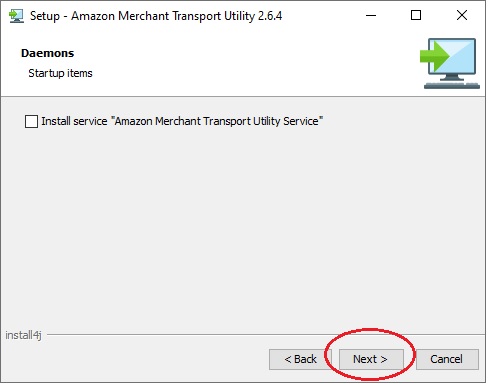
5 AMTU Service
One Stop Order Processing does not need AMTU as a Windows service, no need to tick the Install service box, click on Next.
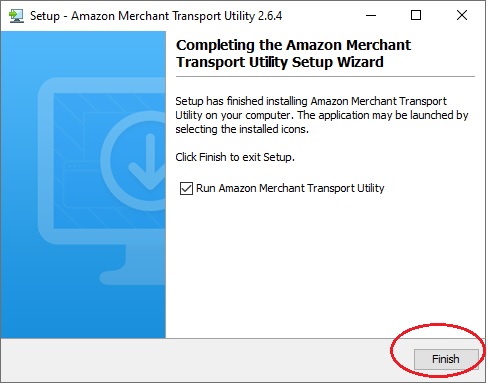
6 Start AMTU
Once the software has been installed (and any Windows adjustments made to run the software) click Finish.
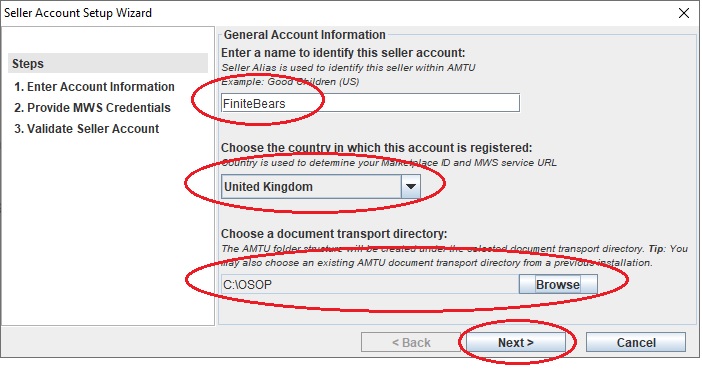
7 Setup AMTU
Add in your Amazon details. You should give a shop description, country for this account and the Document Transport directory (as C:\OSOP) and click on Next
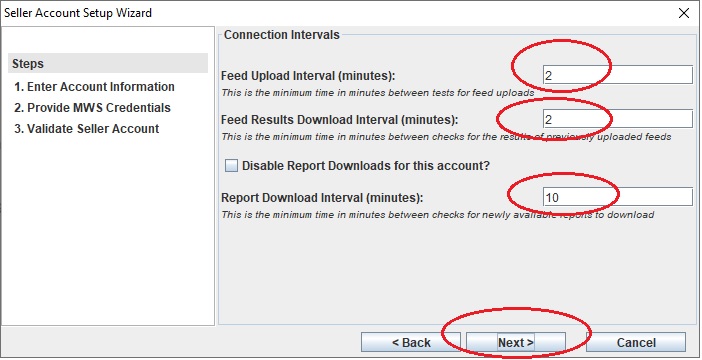
8 Setup the AMTUI intervals
As shown below (2 minutes for Feed upload interval) and Report download 10 minutes.
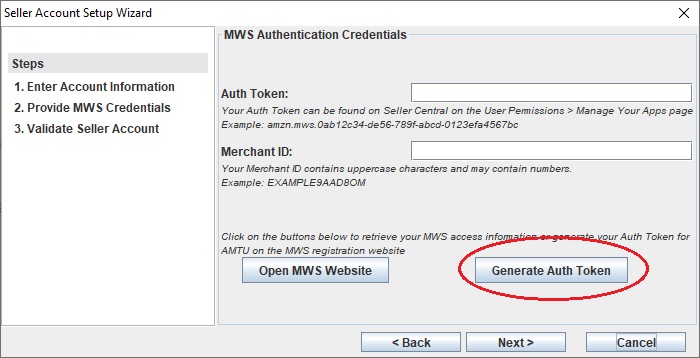
9 Authenticate AMTU with your Amazon account
Click on the Generate Auth Token button.
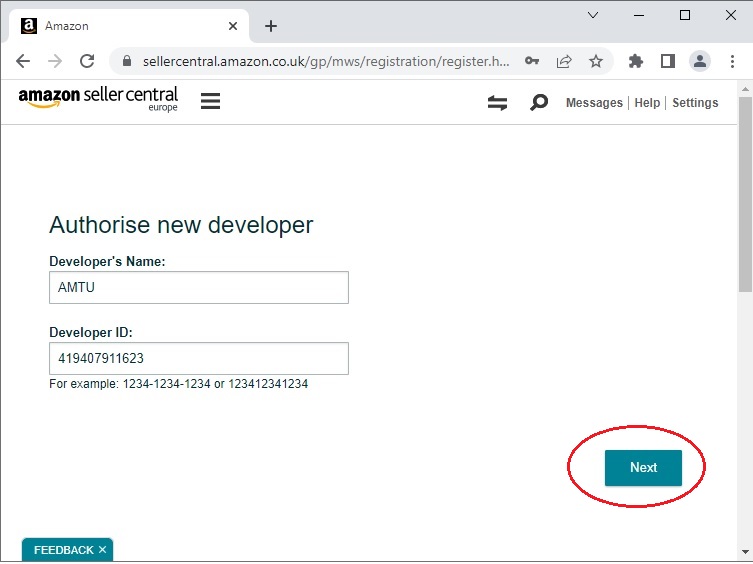
10 Give AMTU permission to your Amazon account
Click on Next.
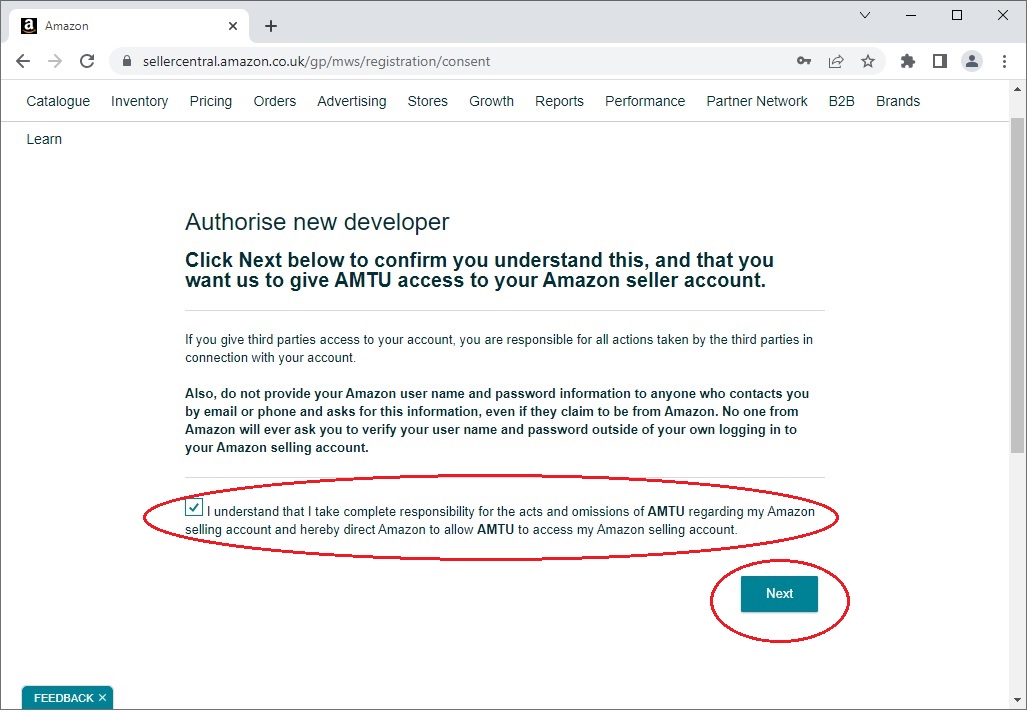
11 Confirm AMTU access agreement
Once read, click on the agreement tick box and click on Next.
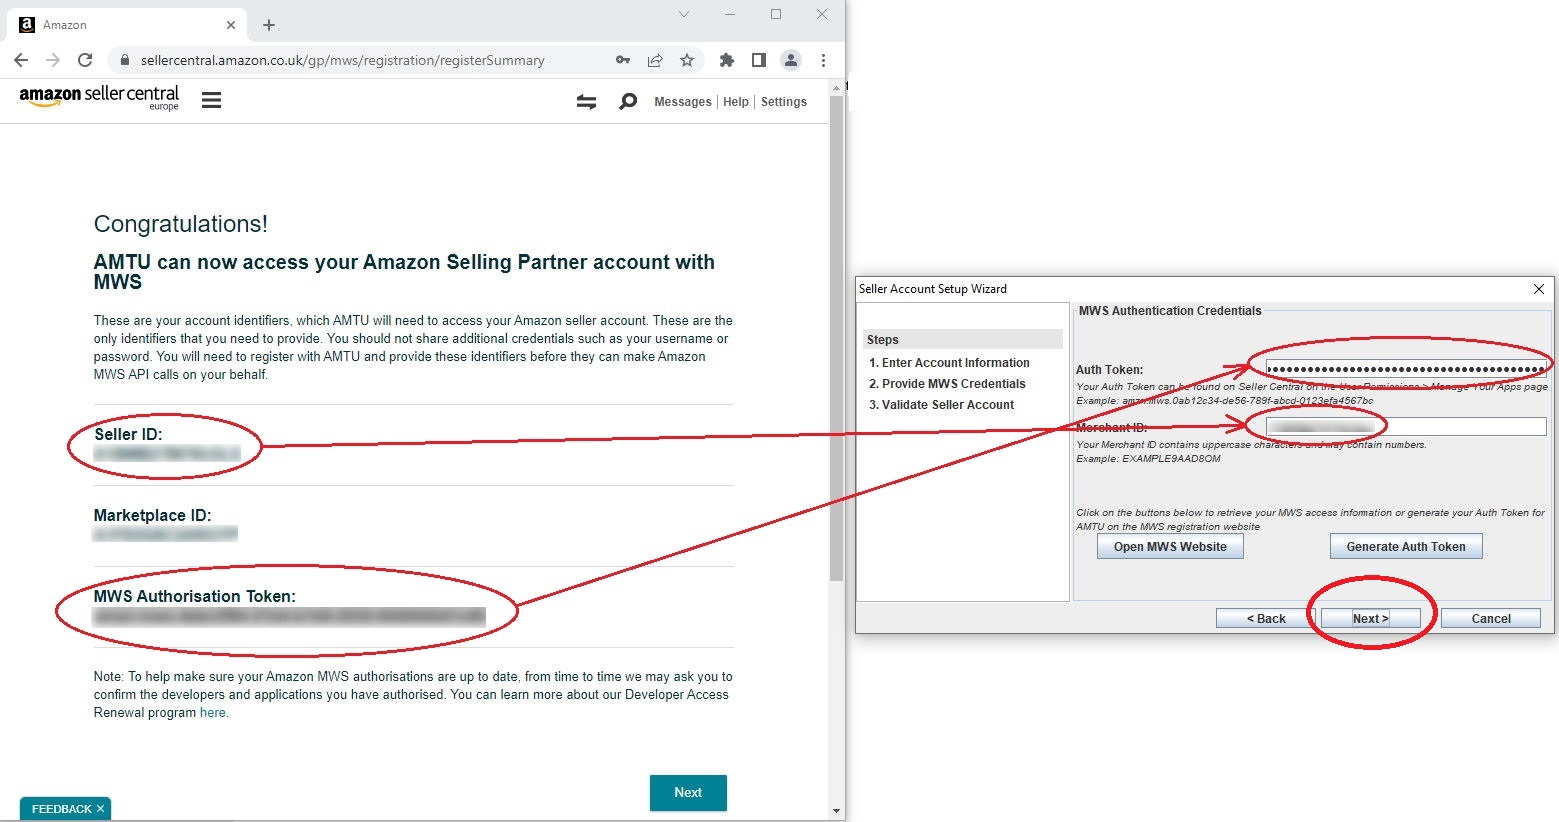
12 Put tokens into AMTU
Once the tokens are shown, enter these into AMTU. Then click on Next.
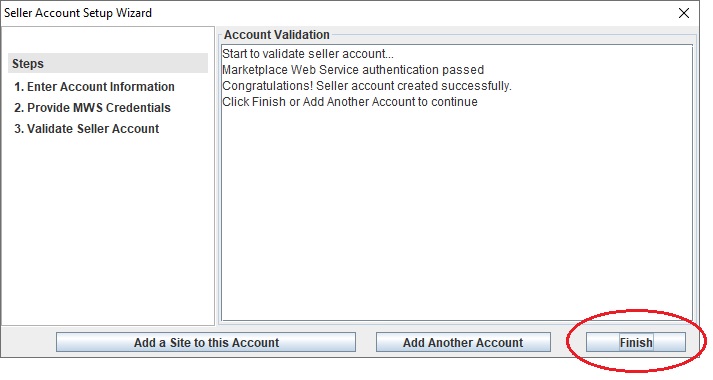
13 Confirm installation complete
Click on the Finish button.
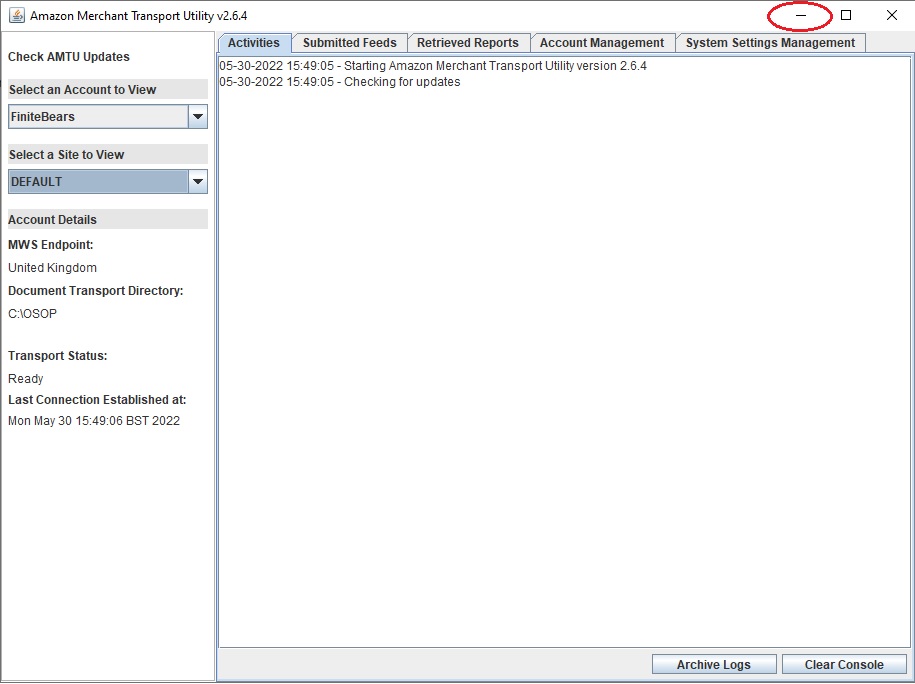
14 Minimise AMTU
AMTU runs in the background and manages the sending and retrieving of information to and from Amazon. You should leave it running, minimised when One Stop Order Processing is running.
15 Setup Amazon Seller Central to retrieve order information
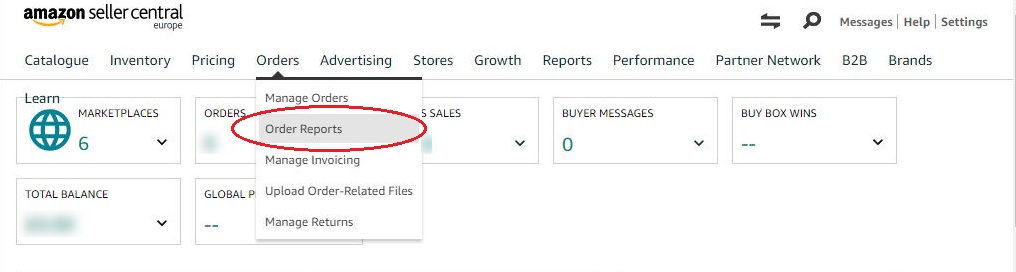
To retrieve order information Amazon needs to be configured to create order reports. Logon to Amazon Seller Central and select the Orders->Order Reports option.
16 Select order report details to create (in Amazon Seller Central)
Select Date range:Last day and Sceduled Reports Every 15 minutes.
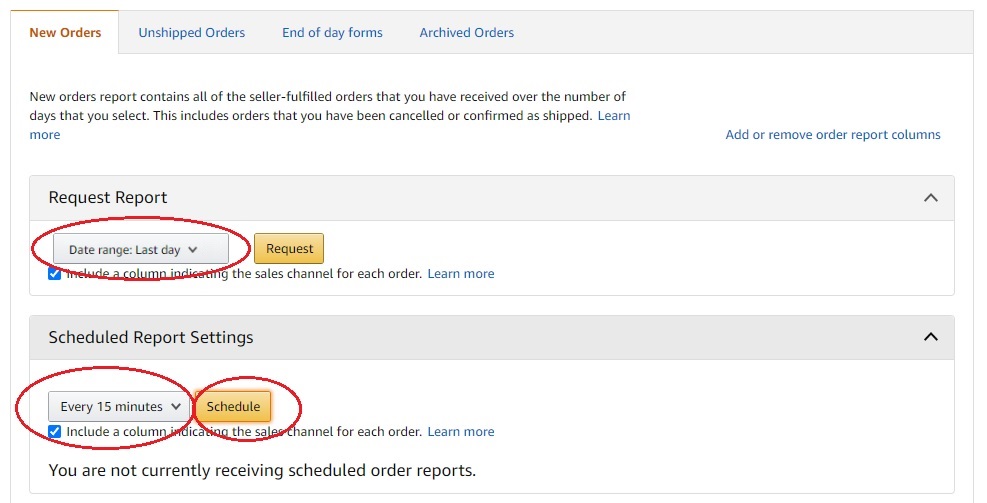
NOTE : If you do not see the correct Scheduled Report Settings and you see the following (You are currently receiving scheduled order reports via XML. You cannot schedule XML reports through Seller Central.) you should contact Amazon Seller Support and ask them to configure your account to download the orders in a flat file (i.e. not XML).

17 Set One Stop Order Processing to use AMTU to process Amazon reports
NOTE : You should always backup your orders and settings before making changes to One Stop Order Processing (HouseKeeping->Backup/Restore->Save Settings and
HouseKeeping->Backup/Restore->Backup Now menu options).
To amend an existing Amazon order import (or create a new one) select the import dialog ( File->Import and Export->Import Orders menu option).

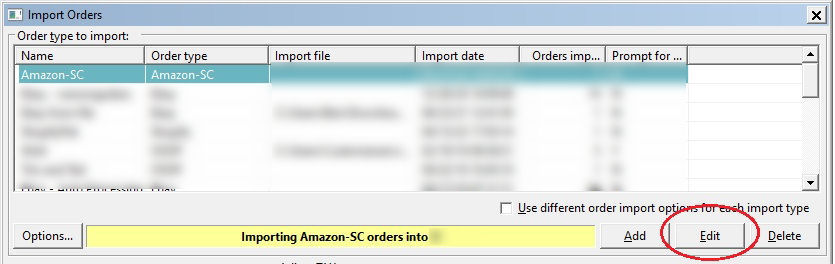
18 Select and amend the Amazon import type
Select the requted Amazon import and click on the Edit button.
19 Change existing Amazon import to only use AMTU
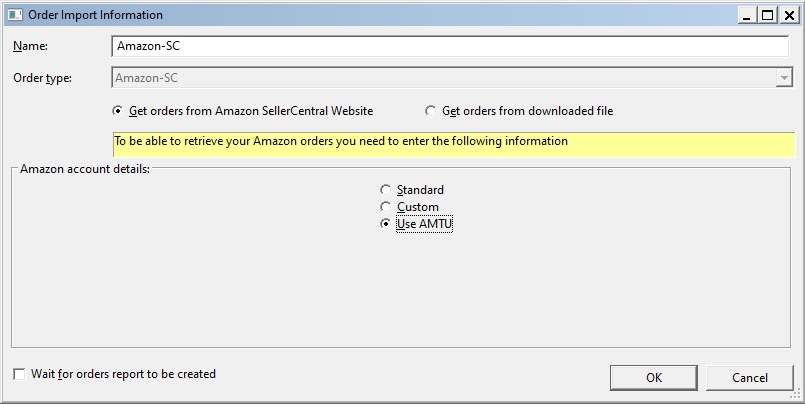
If you want to use AMTU for all orders select the Use AMTU option. This will clear your existing Amazon credentials (which are now put into AMTU).
NOTE : Any orders currently imported using the Amazon import should be marked as shipped before amending the Amazon import.
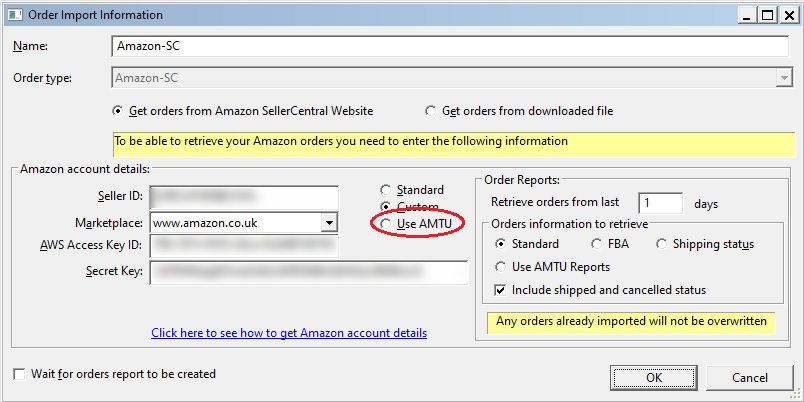
This will then remove the current options. Click on OK.
20 Change existing Amazon import to use AMTU and keep existing Amazon Credentials
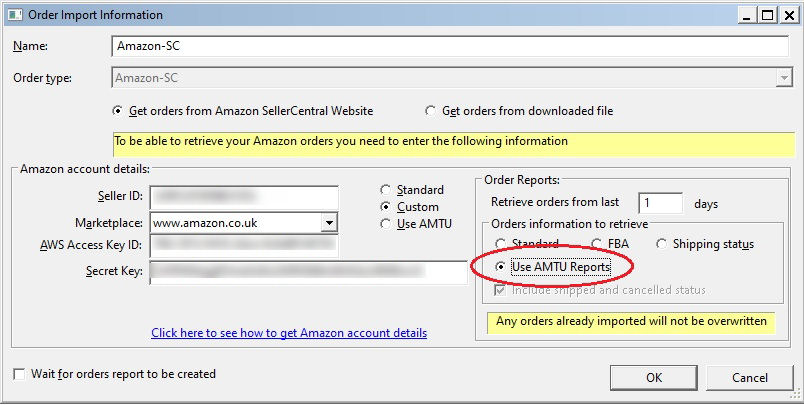
You can use this approach if you want to test using AMTU and then revert back to use Amazon credentails (if available through OSOP). Select the Use AMTU Reports Order Reports option. You an leave the other settings as they are. Click on OK.
21 Setup One Stop Order Processing (OSOP) link to AMTU
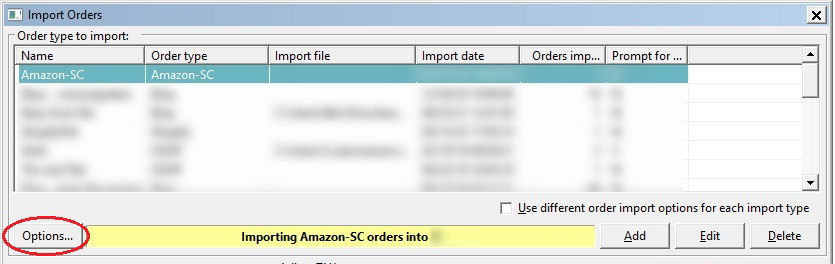
Select the Amazon Import and click on the Options button.
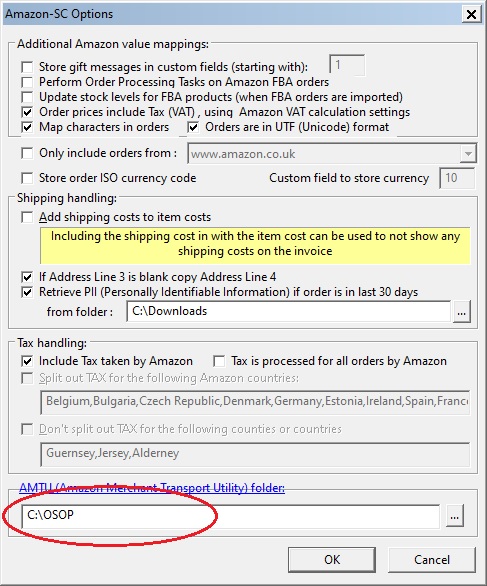
22 Setup the folder AMTU folder
Enter the folder you entered into AMTU (as Document Transport directory). The default folder is C:\OSOP. Click on OK.
NOTE : The AMTU folder should be on the PC where AMTU is running. This can be any PC on your network as long as every OSOP PC has access to that folder. However, this should be the OSOP PC or for multi user OSOP on the main OSOP PC. When you specify the folder you should use the full path for the PC. For example, if AMTU is running on a PC called SERVER2 you should set the folder to be
\\SERVER2\OSOP
You will need to share the OSOP folder from SERVER2. This works in the same way as Remote Sites in OSOP.
23 Setup Product Links (Premium and Enterprise)
NOTE : Before resetting the product Amazon link you shlould import at least 1 order using the new AMTU option so that the correct website connection is setup.
If you are using stock control you will need to
make sure that the products are using the new Amazon connection. To do this go to Product Management (Products->Manage menu option), tick the products with Amazon links (most likely all of your products) and select the Products->Details->Update Ticked Products Website
Links menu option.
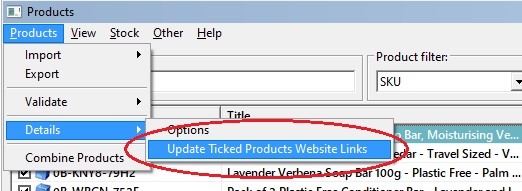
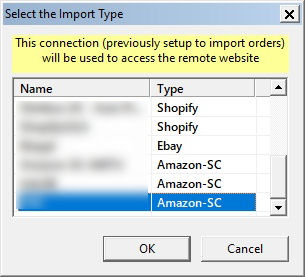
Select the same Import Type that you have amended, e.g. FiniteBears, and click OK. This will update all product links for Amazon to use the new amended import type.
You can now import Amazon orders in the same way.
NOTE : Once setup you can ship orders and update stock levels in the same way as before (which will also use AMTU)