This solution uses
One
Stop Order Processing and Microsoft
Accounting (Express and Professional)
You can import your Import Ebay, Amazon, SellerDeck, Shopify, Magento, osCommerce, BigCommerce, RomanCart, eBid, XCart, Oxatis, Groupon, Wowcher, Paypal, Cdiscount. ekmpowershop, Etsy, Flubit, OpenCart, PinnacleCart, PrestaShop, WooCommerce, Weebly, ChannelAdvisor, ASOS Marketplace, OnBuy, Mighty Deals , Mail Order and Telephone Sales into Microsoft Accounting as a series of
Invoices, into a selected account.All invoices are imported as a single customer
(InternetOrders) for a single product (Goods). The total invoice
cost and VAT is split into the relevant account.
The following instructions explain how to set this up.
1 If the MSAccounting view isn't available you can Import the MSAccounting.mev
view from the installation directory (e.g. C:\OSOP\Main). You can also download it from here.
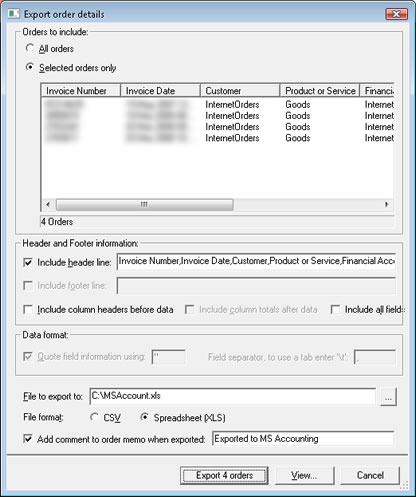
2 Click
on the Export Orders button (![]() ). This will display the Export orders details
dialog, shown below.
). This will display the Export orders details
dialog, shown below.
Click on the Export
orders button.
This will create a spreadsheet in the root of drive C. You can change this location.
3 Start
Microsoft Accounting
4 Create an Income account called InternetSales, shown below:
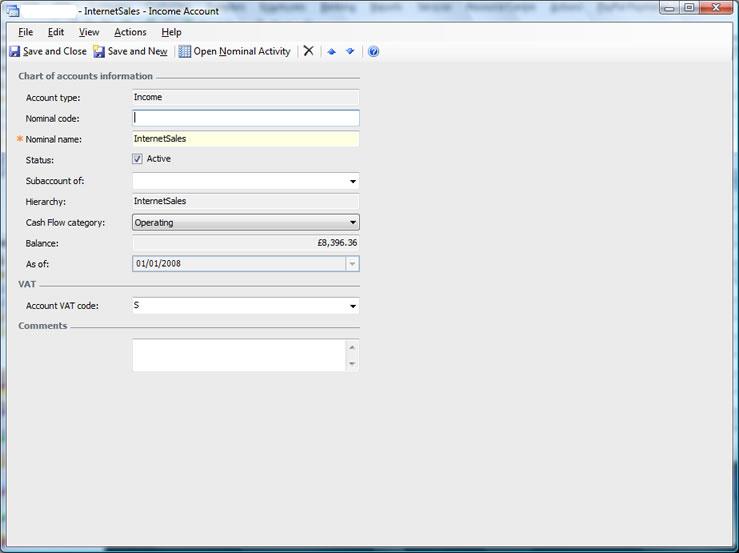
You only need to fill in the Nominal name as InternetSales, the other defaults
are ok.
5 Create a new customer called InternetOrders.
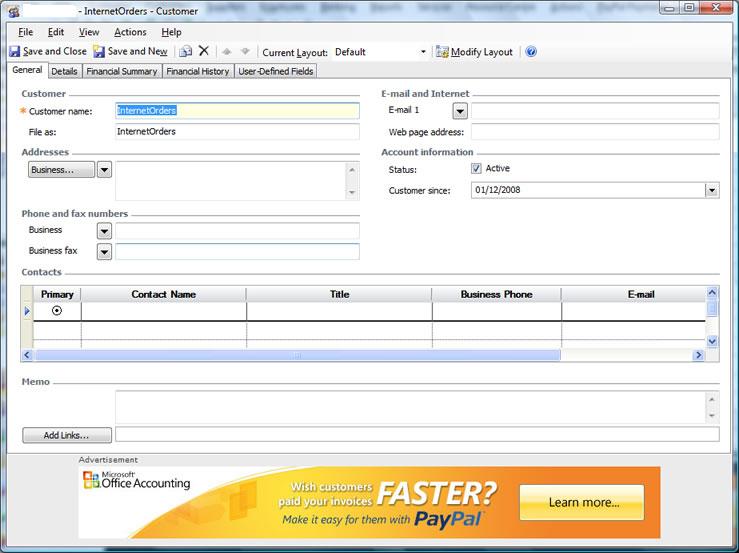
You only need to enter the Customer name.
6 Create a product called Goods.
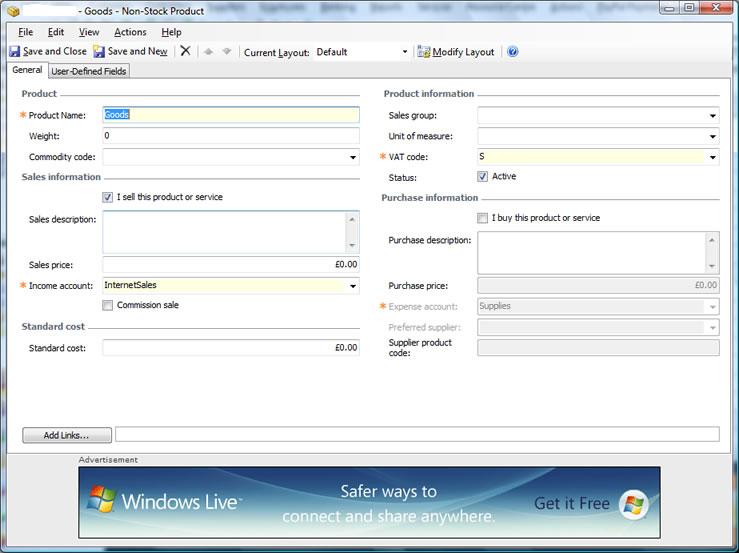
You need to enter the name of the product as Goods and also change the
Income account to InternetSales. You can also define the default
VAT code if required.
7 Select the File->Import Excel Data menu option.
8 Click on Transactions (quotes, sales orders, invoices, purchase
orders, purchase invoices, time entries) and select the spreadsheet, shown
below:
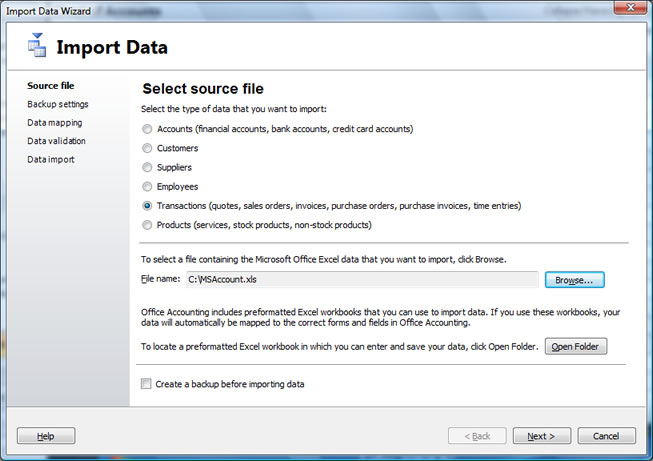
Click on Next.
9 From the Invoices selection select the Orders worksheet.
The required fields will automatically be matched.
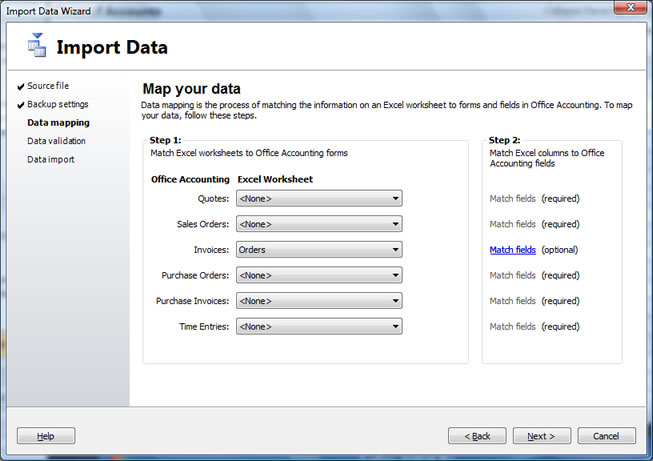
Click on Next.
10 You can then complete the order import.